Radian Chairside Dental
Photogrammetry
iCam Scan Service
Workflow
Chairside Dental offers you an exclusive workflow model for complete implant rehabilitation.
By combining various digital tools, we come to your clinic and collaborate with you to gather all the data needed for immediate loading or definitive restoration.
Schedule your cases with us, and we will bring our digital tools to your clinic: intraoral scanner, photogrammetry scanner, and digital face scanner.
Immediate Loading - Pre-Surgical Phase:
This workflow phase is applicable only in cases of immediate loading, where we capture various information about the patient, enabling the preliminary design of the future temporary prosthesis.
Step 1 - Intra-Oral Scan
Intraoral examination of the relationship between the upper and lower arches and the jaw prior to surgery.
Step 2 - Digital Face Scan
It assists in the planning and is also used as a reference for the occlusal plane.
Step 3 - VDO
Preliminary planning of the immediate loading and VDO (Vertical Dimension of Occlusion) tray in the ChairsideDental program, which will be used for post-surgical data collection. This follows a patented design protocol.
Step 4 - DVO
3D printing of the VDO and intermaxillary relationship tray for post-surgical use.
Immediate Loading and Definitive Prosthesis - Post-Surgical Phase:
This workflow phase is applicable for both surgical and healed patients, where various post-surgical information about the patient is recorded, allowing for the fabrication of either a temporary or definitive prosthesis.
Step 1 - Chairside Print
With our packages, you don’t have to pay for the printer, the washing unit, or the post-curing unit—just for the necessary plans!
We send the designs directly to your printer.
Using the latest printing technology with the Heygears Chairside 3D printer or the Asiga Max 2, we can print final crowns in under 20 minutes.
Step 2 - Finishing
Once the printing process is complete, simply place the printed restoration into the washing unit, then transfer it to the curing unit.
After finishing the printing process, you can begin polishing, coloring, or glazing the product; we provide training for this.
After the final touches, the restoration is ready for bonding.
Step 3 - Chairside Print
The day of the surgery.
A Word from our clients
The RadianDental made our work easier and lowered our costs. The material quality is excellent and we make fewer mistakes. We are incredibly satisfied with the system! On top of that, their assistance with marketing has helped us attract new clients
Edwin
With the introduction of Radian Dental our lab’s efficiency significantly grew. With the help of the tools and the software: we work faster, quicker and waste less material. I could only recommend it to every dental practice!
James
Locations
Address
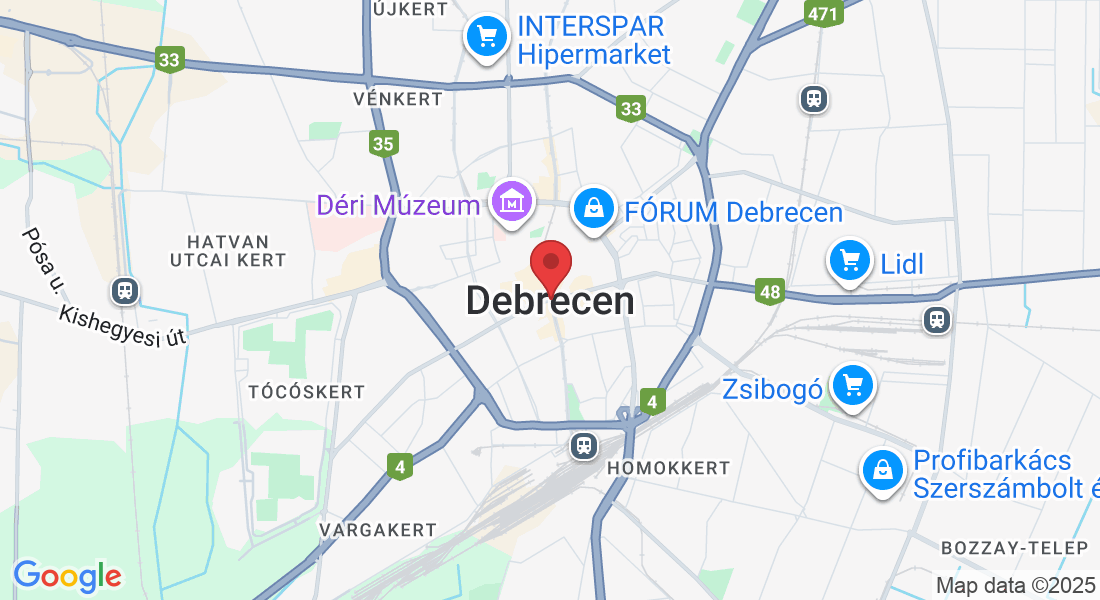
Office: Debrecen, Hungary
Opening times
Mon – Sat 9:00am – 8:00pm
Sunday – CLOSED
© 2025 Radian Chairside Dental. All Rights Reserved.
This material may not be copied, reproduced, distributed, transmitted, or otherwise used without the prior written permission of the copyright owner.

